 SCREEN
📌 Quick Summary: A laptop screen is the hardest display to judge by eye, because everything about it is fixed. You cannot swap the panel for a spare, you cannot change the cable, and the graphics chip is soldered to the board. That makes the order of the checks matter more than on any other device. This guide gives you the exact 60 second test I use in my workshop, separates a genuine panel fault from the two things that imitate one, covers the fixes worth trying, and sets out what a warranty claim needs before the window on it closes.
Why a Laptop Screen Is Different (And Why You Must Test)
I have repaired hundreds of laptop screens. And I can tell you this: the panic people feel when they see a tiny dot on their laptop screen is usually unnecessary. In 90% of cases, the panel itself is fine. The problem is a cable, a graphics driver, or a pressure mark that will fade.
But unlike a desktop monitor, you cannot easily swap parts to find out. A laptop is a sealed unit. The display cable runs through the hinge. The graphics chip is soldered to the motherboard. The panel is glued into a thin lid. Every check must be done in a specific order.
This guide is the exact sequence I use in my workshop. It is designed to take you from "I see a dot" to "I know exactly what it is and what to do about it" in under 15 minutes.
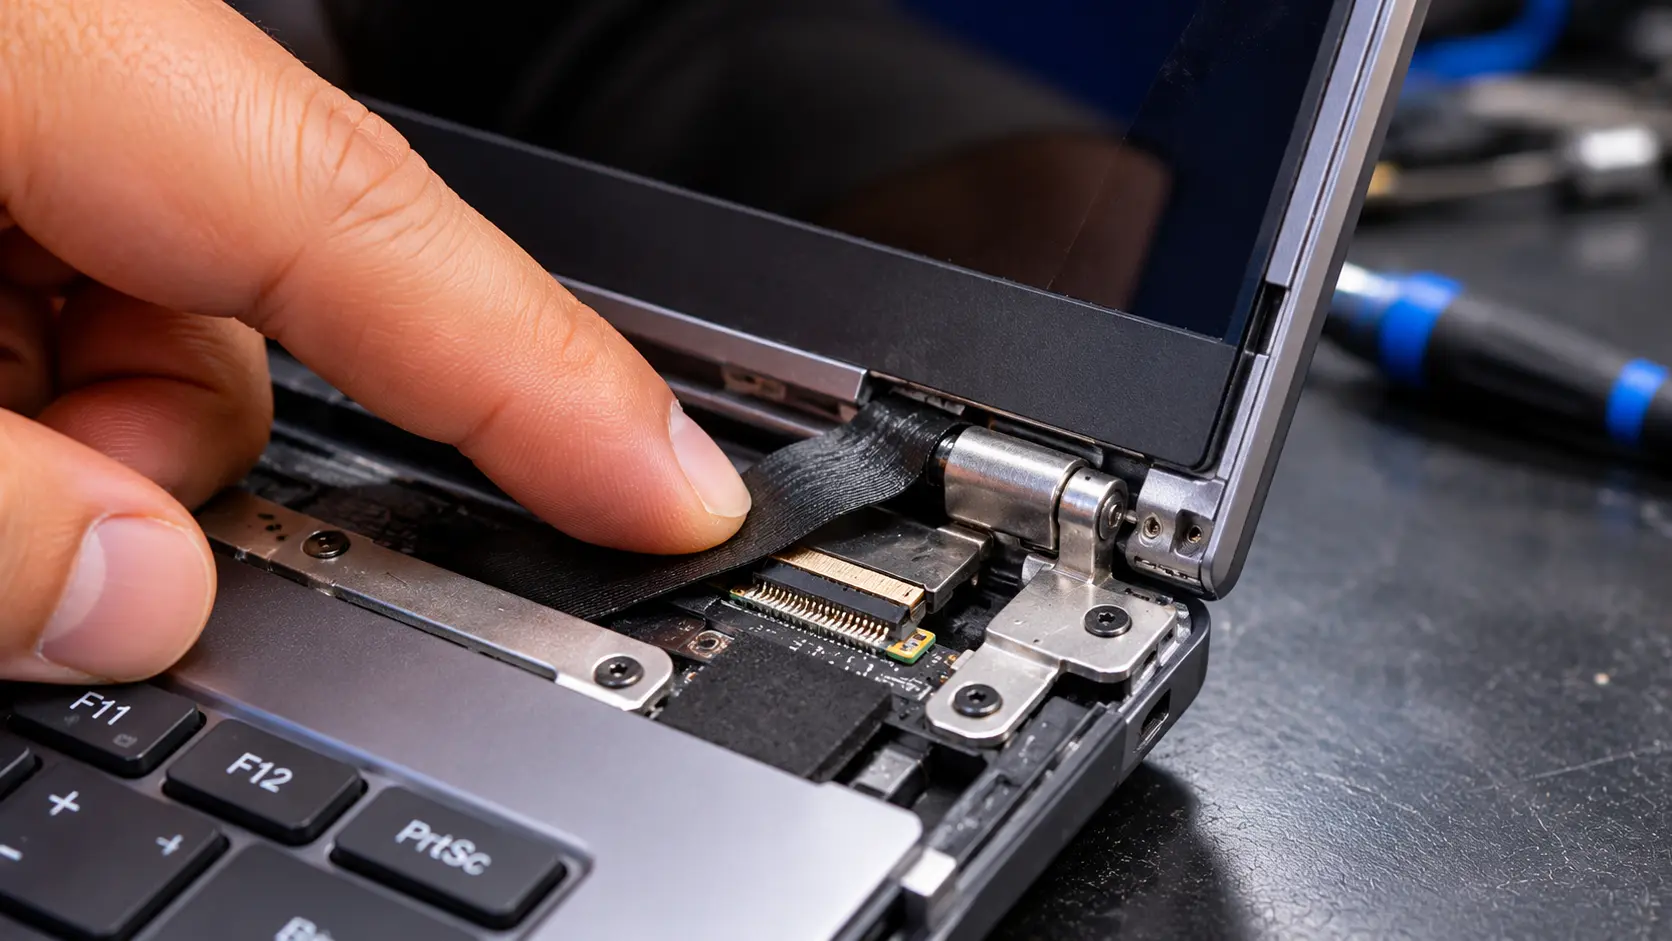
A laptop screen test is not just about the pixels. It is about the whole chain from chip to panel.
Step 1: Prepare the Laptop (The Step Everyone Skips)
Before you open the test, do these three things. If you skip them, you will get false results. I see this mistake every week.
1. Clean the Panel Properly
Use a dry microfiber cloth. Never use household glass cleaner, and never use a wet cloth on an open laptop. A single speck of dust on a white screen looks exactly like a dead pixel. A smudge on a black screen can look like a stuck pixel .
2. Turn Off the Features That Hide a Fault
Laptops have three power saving features that are built to change what you are about to look at. Turn off Night Light or Night Shift. Turn off HDR. Turn off any blue light filter. These features alter the color temperature and contrast, and they can hide a faint dot .
3. Plug In and Set to Best Performance
Plug the charger in. Set the power mode to Best Performance. On battery, most laptops dim the backlight, and some enable a contrast adaptive mode that quietly hides a faint dot. You need the panel running at full brightness for an accurate test .
Finally, tilt the lid so no lamp or window reflects off it. This matters far more on a glossy laptop panel than on a matte desktop monitor.
Step 2: Run the Free Dead Pixel Test
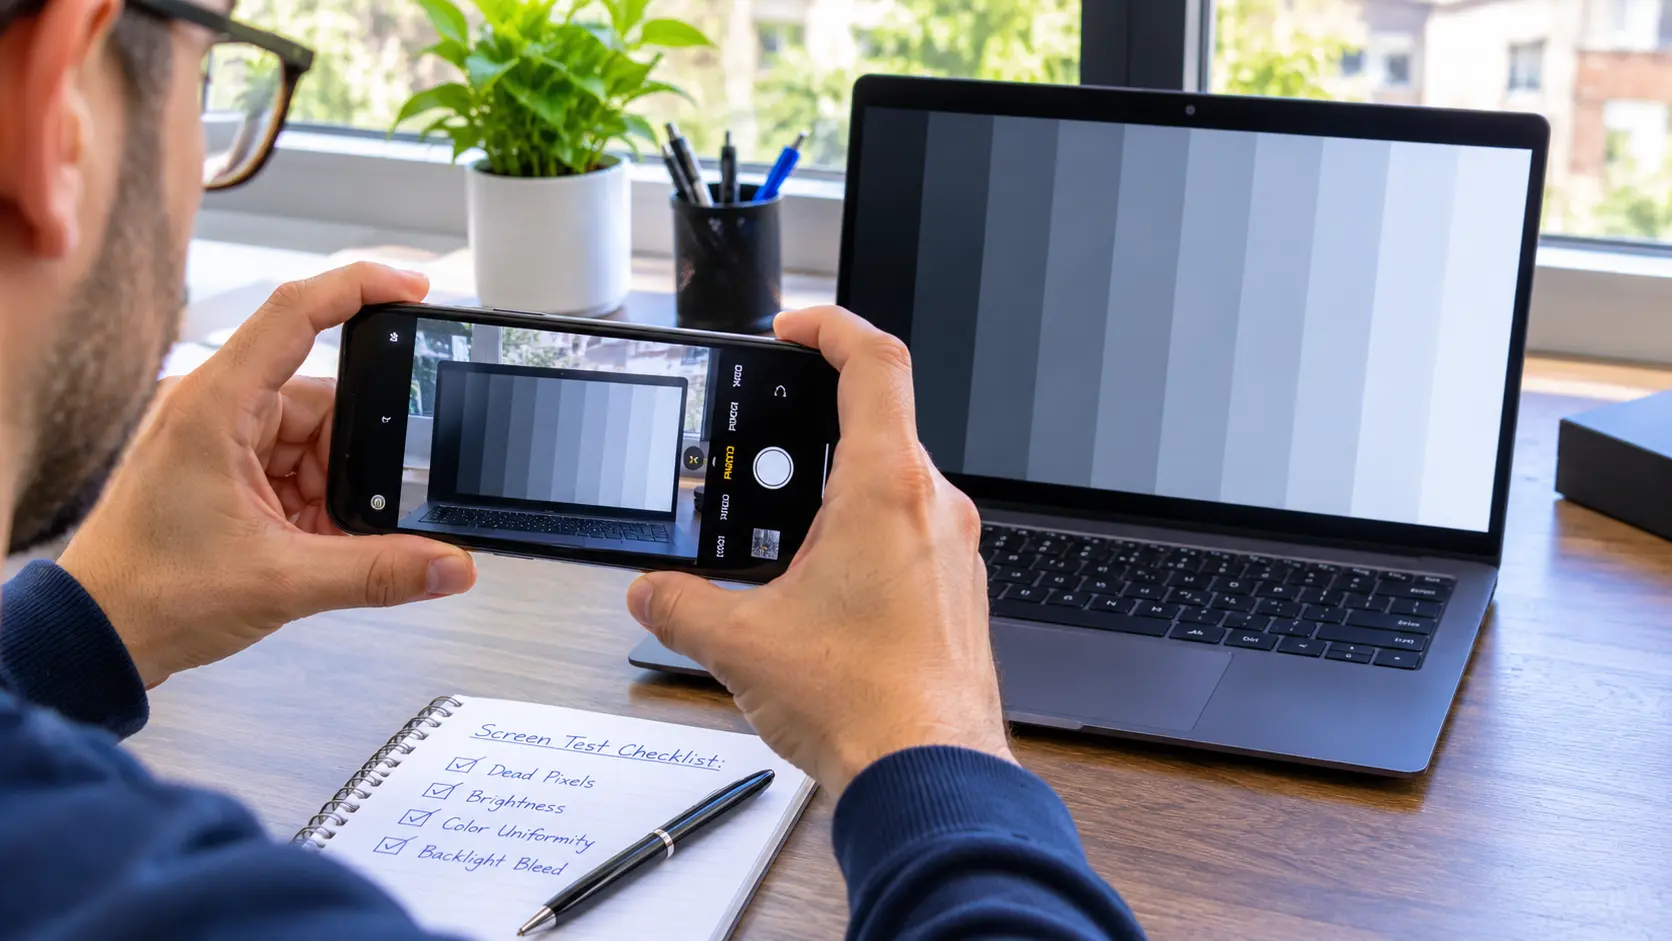
Open our free Screen Medic diagnostic tool and go full screen so no browser chrome remains. The tool cycles through five solid colors. Here is how to read the results:
- Start on black: Any lit dot is a stuck or hot pixel .
- Switch to white: Any dark dot is a dead pixel .
- Step through red, green, and blue: A single failed sub pixel hides on its own color and shows plainly on the other two.
- Scan in bands rather than staring at the middle: Note where anything sits relative to the center.
Do the whole cycle twice, once at your normal working distance and once close up. Laptop panels are dense enough that a single pixel is genuinely small, and a fault you can only find with your nose against the screen is worth knowing about but rarely worth a repair.
For a complete breakdown of the difference between a dead pixel and a stuck pixel, read my guide on Dead Pixel vs Stuck Pixel.
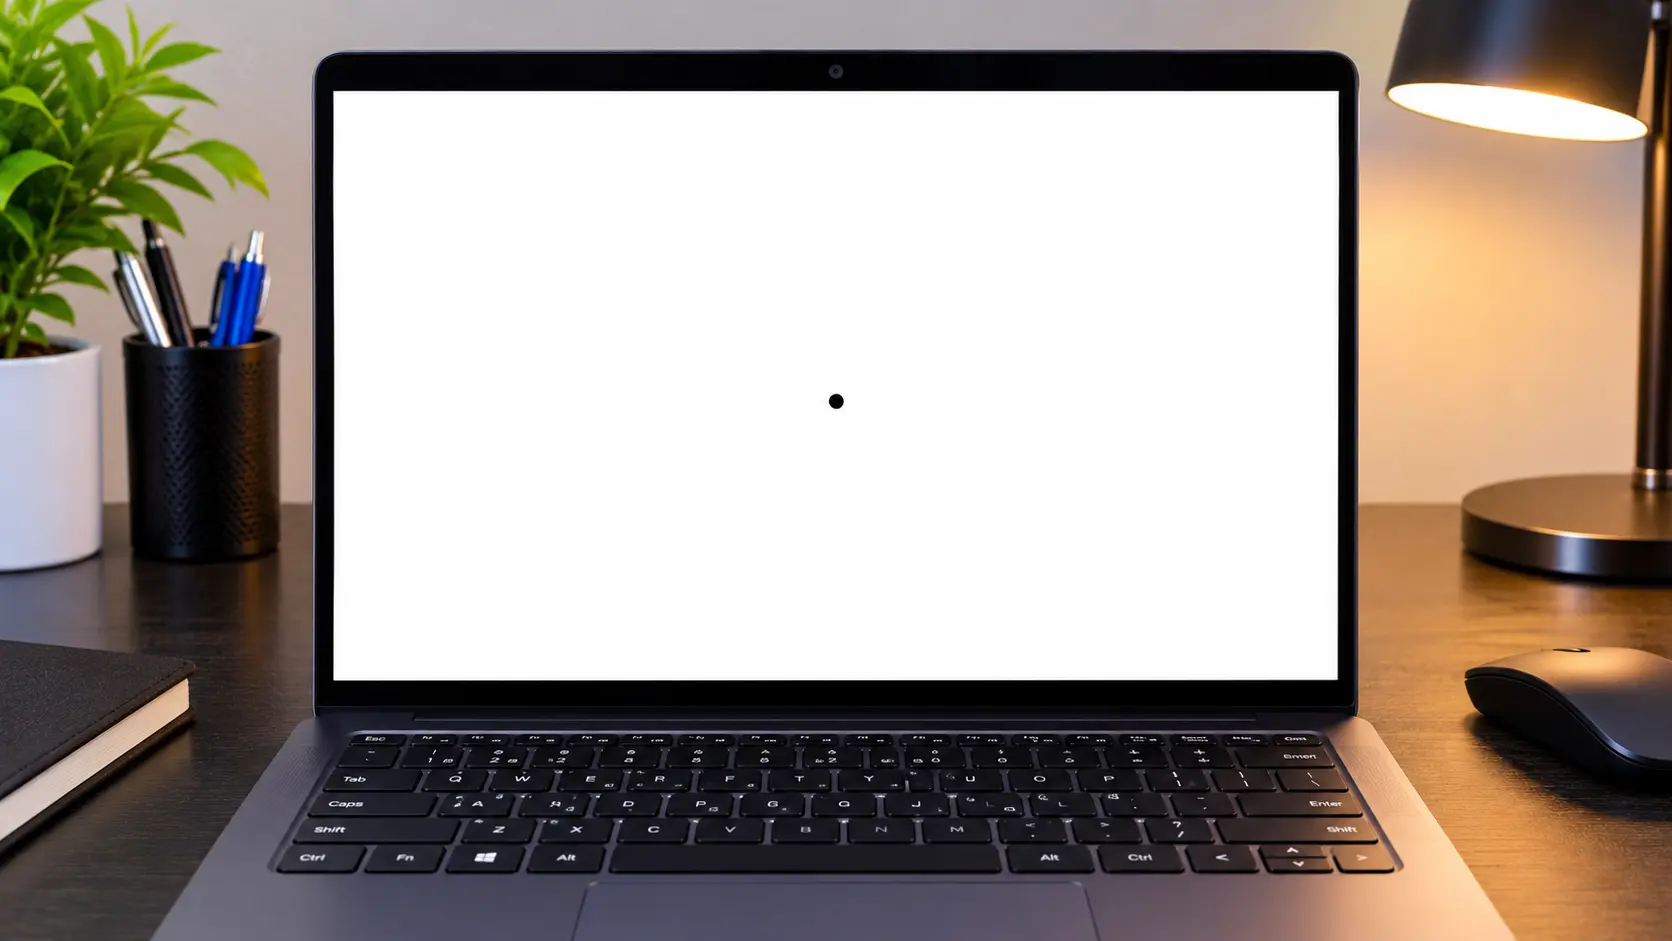
A dead pixel against white. The background that exposes it.
Step 3: Is It the Panel, the Chip, or the Cable?
This is the step that separates a laptop from a monitor, and skipping it is how people end up quoted for a screen assembly they did not need. A laptop has an internal display cable that runs through the hinge, and a hinge is the one part of the machine that moves thousands of times. It is also the one component you can test without opening anything .
Test 1: Plug In an External Monitor
Plug in an external monitor. If the same dot appears on the external screen, the panel is innocent and the fault is upstream, in the graphics chip or the operating system. If the external screen is clean, the problem is in the lid, either the panel or its cable .
Test 2: Open the UEFI or BIOS Screen
Reboot the laptop and enter the UEFI or BIOS screen. This screen draws without drivers or the desktop compositor. A dot that survives there is hardware. A dot that vanishes was software .
Test 3: Move the Lid Slowly Through Its Range
Move the lid slowly through its range. A mark that flickers, spreads, changes color, or comes and goes with the hinge angle is a cable or connector fault, not a pixel. Pixels do not care what angle the lid is at .
Test 4: Reboot Once
Reboot the laptop. A stuck rendering artifact from a crashed driver can survive a lock screen but never a restart. If the dot disappears after a reboot, you did not have a hardware fault. You had a software glitch .
A cable fault is worth finding because it is the cheapest outcome on this page. The display cable is a separate part on most laptops and a fraction of the price of a panel. It is also the one that gets worse, so a flicker that only appears at certain lid angles today will not stay that way.
Step 4: Identify the Defect (Four Possibilities)
Once the fault is confirmed to be in the lid, name it correctly, because the four things it could be have four different answers.
1. Dead Pixel
A dead pixel stays black on every color, including white. It is unlit and, in practice, permanent. For a complete technical breakdown, read my guide on What is a Dead Pixel? The Complete Guide.
2. Stuck Pixel
A stuck pixel shows red, green, blue, or white and stays that color while everything around it changes. This is the one worth working on. See my guide on How to Fix a Stuck Pixel on a Laptop.
3. Pressure Mark
A pressure mark is a bruise, not a pixel. It is a pale blotch, a ring, or a row of faint marks matching the keyboard, caused by the lid being closed on something or squeezed in a bag. It covers many pixels at once and has soft edges, which is how you tell it apart at a glance.
4. Backlight Bleed
Backlight bleed is a lighter cloud or streak at an edge or corner, visible on black and gone on white. Thin laptop lids flex, so a little is normal and it is not a pixel fault at all. For a full breakdown, read my article on Backlight Bleed vs IPS Glow.
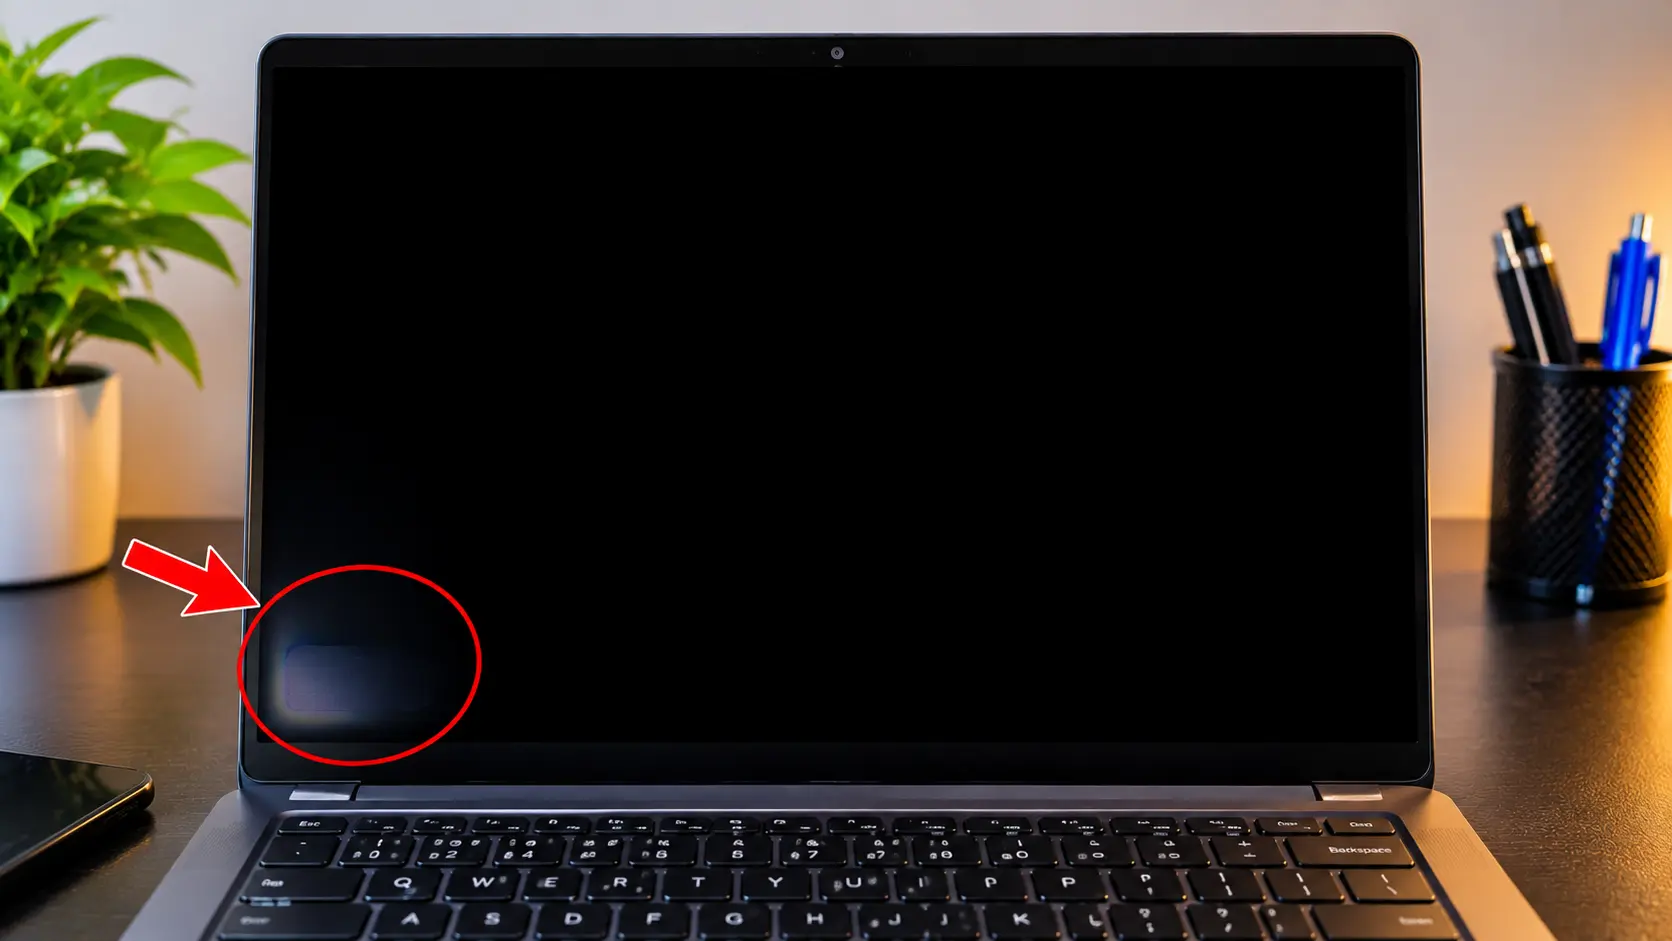
A pressure mark is a bruise, not a dead pixel. It covers many pixels at once.
Step 5: How to Fix a Dead Pixel on a Laptop Screen
A stuck pixel can often be recovered. A truly dead one cannot, and no software has ever changed that. A dead sub pixel receives no signal, and flashing colors at a transistor that is not switching does nothing. So try the fix if the dot is colored, and set your expectations honestly if it is black .
The Safe Method: Software Cycling
The method that is safe on a laptop is the software one. Our free dead pixel fixer cycles the sub pixels at speed over the affected area, which can shake a lazy transistor back into switching. Run it for twenty to thirty minutes with the charger plugged in, then re-test on black and white. Two or three attempts are reasonable. If nothing has changed after that, more time will not help.
The Risky Method: Pressure
The pressure method, the one every forum recommends, deserves a specific warning on a laptop. A laptop panel is thinner than a monitor's, sits in a lid with almost no air gap, and has no protective cover glass on a matte finish. The same push that is merely risky on a desktop monitor can leave a permanent bruise across dozens of pixels here, and turn one bad pixel into an obvious patch. If you try it at all, the machine must be off, the pressure must come through a soft cloth with a blunt object rather than a fingernail, and it must be brief. For a full breakdown of the risks, read my guide on The Stuck Pixel Fix That Actually Works.
What a Screen Replacement Costs
If the fix fails, the decision is different from a monitor. Laptop panels are rarely replaced on their own. The usual repair is the whole lid assembly: panel, bezel, hinges, and cable together. On a thin machine, it can be a meaningful fraction of what the laptop is worth. Get the quote before you decide, and weigh it against a fault you may stop noticing within a week.
Step 6: Does a Dead Pixel Qualify for Warranty?
Laptop makers publish a pixel policy in the same way monitor makers do: a number of failed pixels the panel must reach before it counts as defective. The thresholds are generally less generous than on monitors, and the recurring patterns are worth knowing before you call .
- Bright dots count for more than dark ones: A stuck pixel lit against black is usually weighted more heavily than a dead one.
- Position matters: A fault in the middle of the screen is treated more seriously than the same fault near a corner.
- Clusters are counted separately and will often trip a policy that the same number of scattered pixels would not.
- Business and workstation ranges are stricter than consumer lines, and some premium models are sold with a zero bright dot guarantee that a single stuck pixel triggers.
Before you contact anyone, photograph the fault on a black screen and on a white one, note its position, confirm it survives a reboot, confirm it does not appear on an external monitor, and read the policy for your specific model rather than the manufacturer in general. Then check which service you actually bought. On site repair sends a technician to you, while depot service means posting the machine away for a week or more. That difference decides whether a single pixel is worth claiming at all.
Do this early. Pixel policies usually apply only within a short window after purchase, and a manufacturing fault is present from the first power up. That is exactly why it is worth running the test on a new laptop the day it arrives rather than the day you notice something. For a complete breakdown of brand policies, read my Complete Dead Pixel Guide.
Document everything. Photos and receipts make warranty claims easier.
Step 7: How to Prevent Dead Pixels on a Laptop Screen
A manufacturing defect is beyond your control, but almost every other cause on a laptop is mechanical, and a laptop is handled in ways a monitor never is .
- Check the keyboard before you close the lid. A pen, a USB stick, an earphone, or a crumb left on the keys is the single most common way a laptop screen is damaged. There are only a few millimeters of clearance.
- Never pick the machine up by the screen. Lifting an open laptop by the lid twists the panel and loads the hinges and the display cable at the same time.
- Carry it in a padded compartment, on its own. A charger pressed against the lid inside a full backpack applies exactly the kind of sustained, uneven pressure that leaves a mark.
- Do not press on the panel to point at something. It is the fastest way to bruise a screen you were not having any trouble with.
- Keep the vents clear. Sustained heat stresses the liquid crystal layer, and a laptop run on a duvet or a cushion gets much hotter than one on a desk.
- Do not leave it in a car. Both the heat in summer and the cold in winter go well outside the panel's rated range.
- Keep drinks away from it. Liquid that reaches the panel keeps spreading for weeks after the spill.
For a complete guide to preventing all types of screen damage, read my article on How to Test Your Monitor Like a Pro.
Frequently Asked Questions (FAQ)
Can I fix a dead pixel on a laptop for free?
A stuck pixel can sometimes be fixed for free using software cycling. A truly dead pixel cannot be fixed. No software, no pressure, and no app can bring it back. Be wary of any tool claiming otherwise .
Will a dead pixel on my laptop spread?
No. Dead pixels do not spread to neighboring pixels. Each pixel operates independently. However, if the panel has a systemic manufacturing defect, other pixels may fail over time. It is not contagious .
Does a single dead pixel qualify for a laptop warranty?
It depends on the brand. Most manufacturers require three or more dead pixels before they will replace a panel. Some premium models have a zero bright dot guarantee that a single stuck pixel triggers. Read your specific model's policy before filing a claim .
What is a pressure mark, and how is it different from a dead pixel?
A pressure mark is a bruise, not a pixel. It is a pale blotch or a row of faint marks caused by the lid being closed on something. It covers many pixels at once and has soft edges. A dead pixel is a single black dot with sharp edges .
Can a laptop screen cable cause a dead pixel?
No, a cable cannot cause a dead pixel. But it can cause a mark that looks like a dead pixel. If the mark flickers or changes with the hinge angle, it is a cable fault, not a pixel fault. Test with an external monitor and in the BIOS to confirm .
How much does it cost to replace a laptop screen?
It depends on the model. For a thin, premium laptop, a full lid assembly replacement can cost $200 to $500 or more. For a budget laptop, it can be $100 to $200. Get a quote before you decide if it is worth it.
Should I buy a laptop with a dead pixel?
Only if it is heavily discounted and you can live with it. Otherwise, avoid it. A dead pixel is a permanent defect. If you are buying used, run the test before you hand over your money. For a complete checklist, read my guide on How to Test a Used Monitor Before Buying.
Final Thoughts: Test Before You Panic
A dead pixel on a laptop is not the end of the world. It is a problem with a specific set of checks. Run the test. Isolate the cause. Name the defect. Then decide whether to fix it, claim it, or live with it.
Most of the time, the panel is fine. The problem is a cable, a driver, or a pressure mark that will fade. And if it is a true dead pixel, you now know exactly what to do about it.
🔍 Run the Free Laptop Screen Test Now
Related Guides
- What is a Dead Pixel? The Complete 2027 Guide
- Dead Pixel vs Stuck Pixel: What's the Difference?
- How to Fix a Stuck Pixel on a Laptop Screen
- The Stuck Pixel Fix That Actually Works
- 5 Methods to Fix Stuck Pixels: Proven Solutions
- Backlight Bleed vs IPS Glow: What's the Difference?
- How to Test Your Monitor Like a Pro: 5 Essential Checks
- How to Test a Used Monitor Before Buying
- Screen Tests for Every Device: A Technician's Complete Guide
- OLED vs LCD: Which Display Technology Is Better?
💬 Leave a Comment
Have a question or something to add? Share your thoughts below.
Loading comments...